


- Recipe Index

- Breads
- Yeasted Breads
- Classic Jelly Donuts
Classic Jelly Donuts
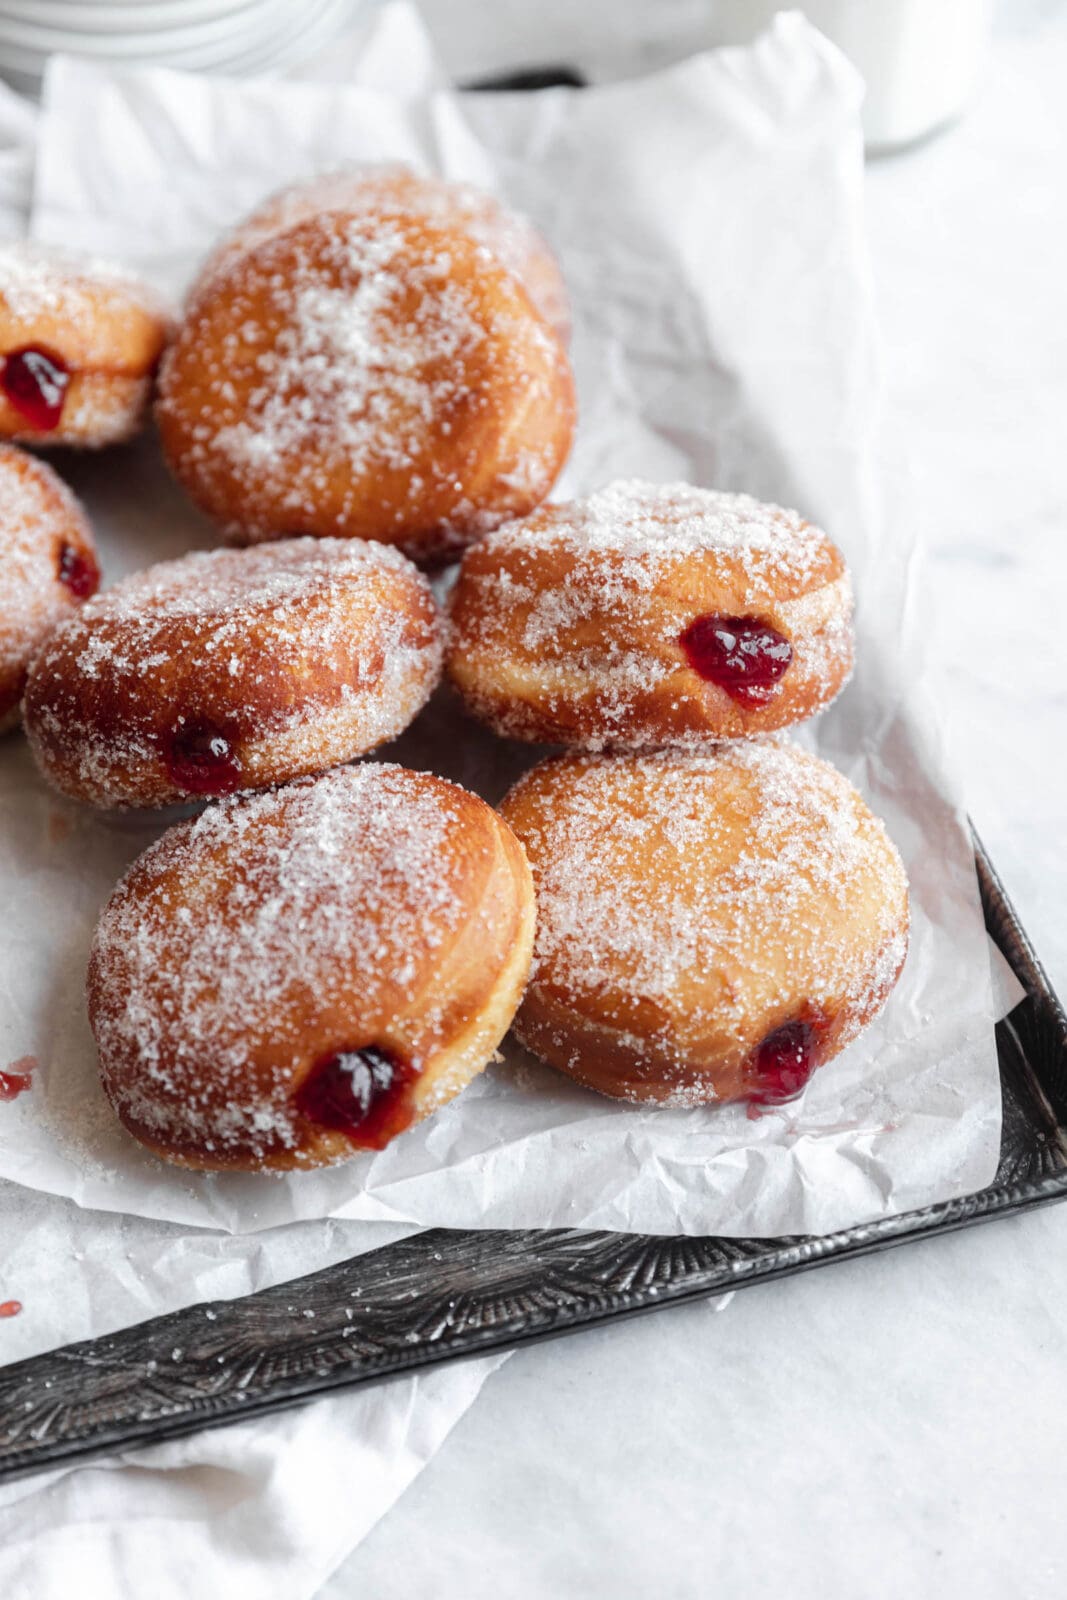
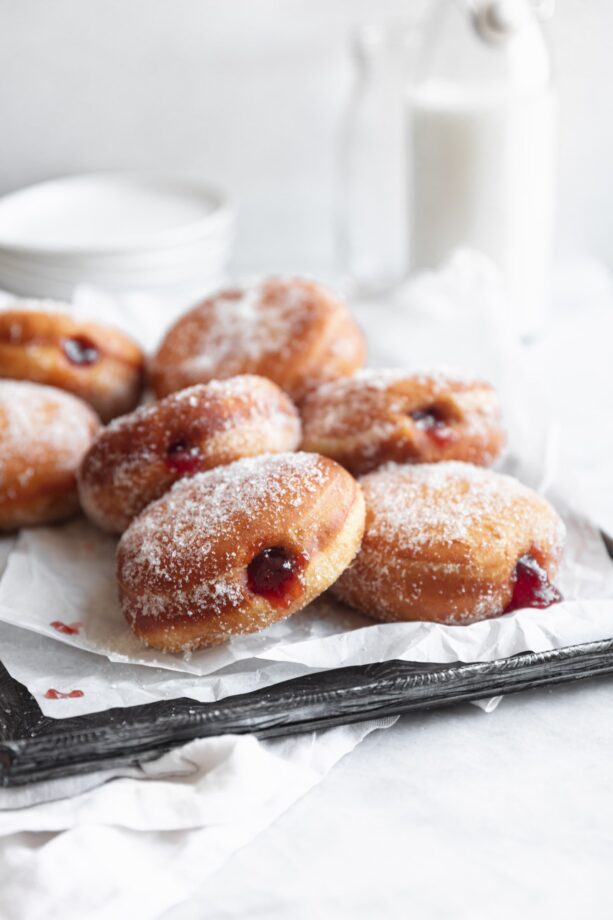
Good days start with donuts. Specifically these pillowy soft homemade jelly donuts that are bursting with sweet jelly. They’re pretty easy to make (we’ll break down exactly how to make these classic jelly donuts below!) and go perfectly with a cup of coffee!

Classic Jelly Donuts
You know it’s going to be a good day when it starts with a donut. Particularly a homemade, soft, fluffy, fresh jelly donut coated in sugar and bursting with sweet jam. And luckily for you I’m going to break down exactly how to make homemade jelly donuts so you don’t even have to schlep over to the donut shop to start your day off. Let’s all go have good days!
Ingredients for classic jelly donuts
The beautiful thing about donuts is that you actually don’t need that many ingredients to make them. So while they may require a bit of extra clean up from the frying, your grocery shopping will be a breeze! Most of these ingredients are probably staples you already have around the house! Here’s your list:
- All Purpose Flour
- Granulated Sugar
- RapidRise or Instant Yeast
- Granulated Sugar
- Milk
- Butter
- Egg Yolks
- Jelly
- Vegetable Oil
How do you get the jelly in the middle of the jelly donut?
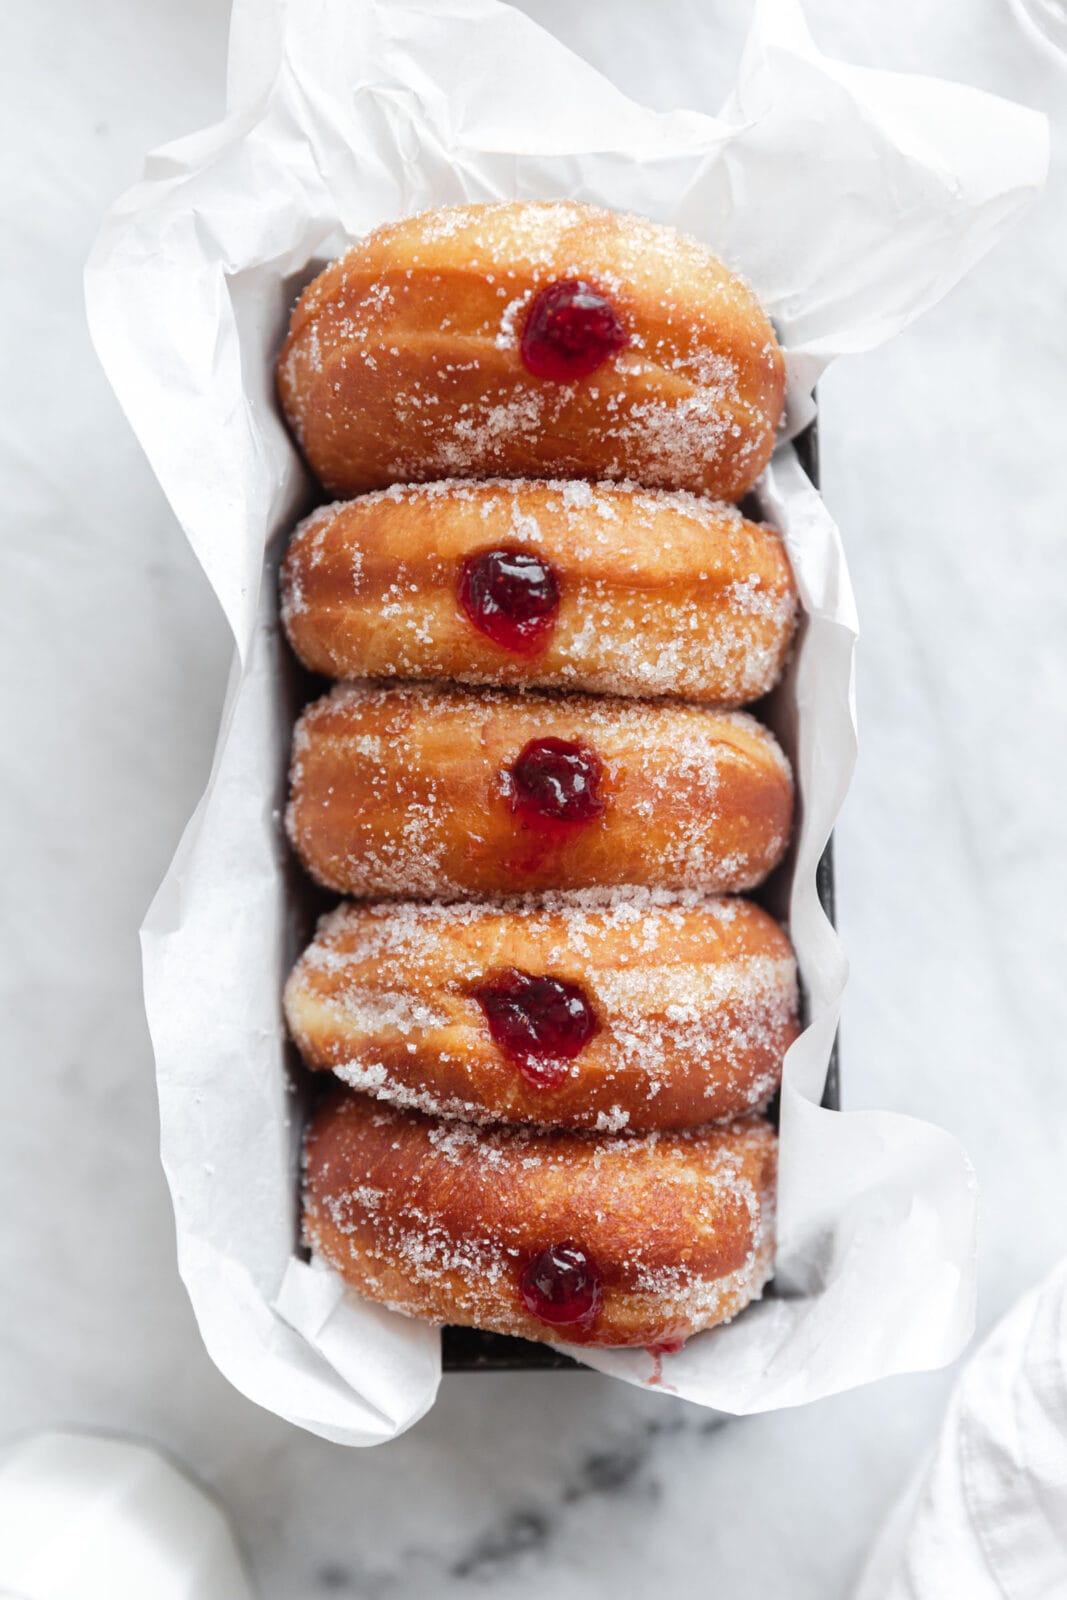
This is a question I had to google myself when I first started baking filled donuts years ago. When I was a kid and sinking my teeth into creme or jelly filled donuts I always assumed you had to create some magical pocket with a spacer or stuff them with the filling before the donuts rose. But NO–it’s actually so much easier than that! Simply make your donut dough according too directions and fry them. After you fry them, use a piping bag fitted with a skinny metal tip to essentially inject your donuts with jelly!
What kind of jelly should you use for homemade jelly donuts?
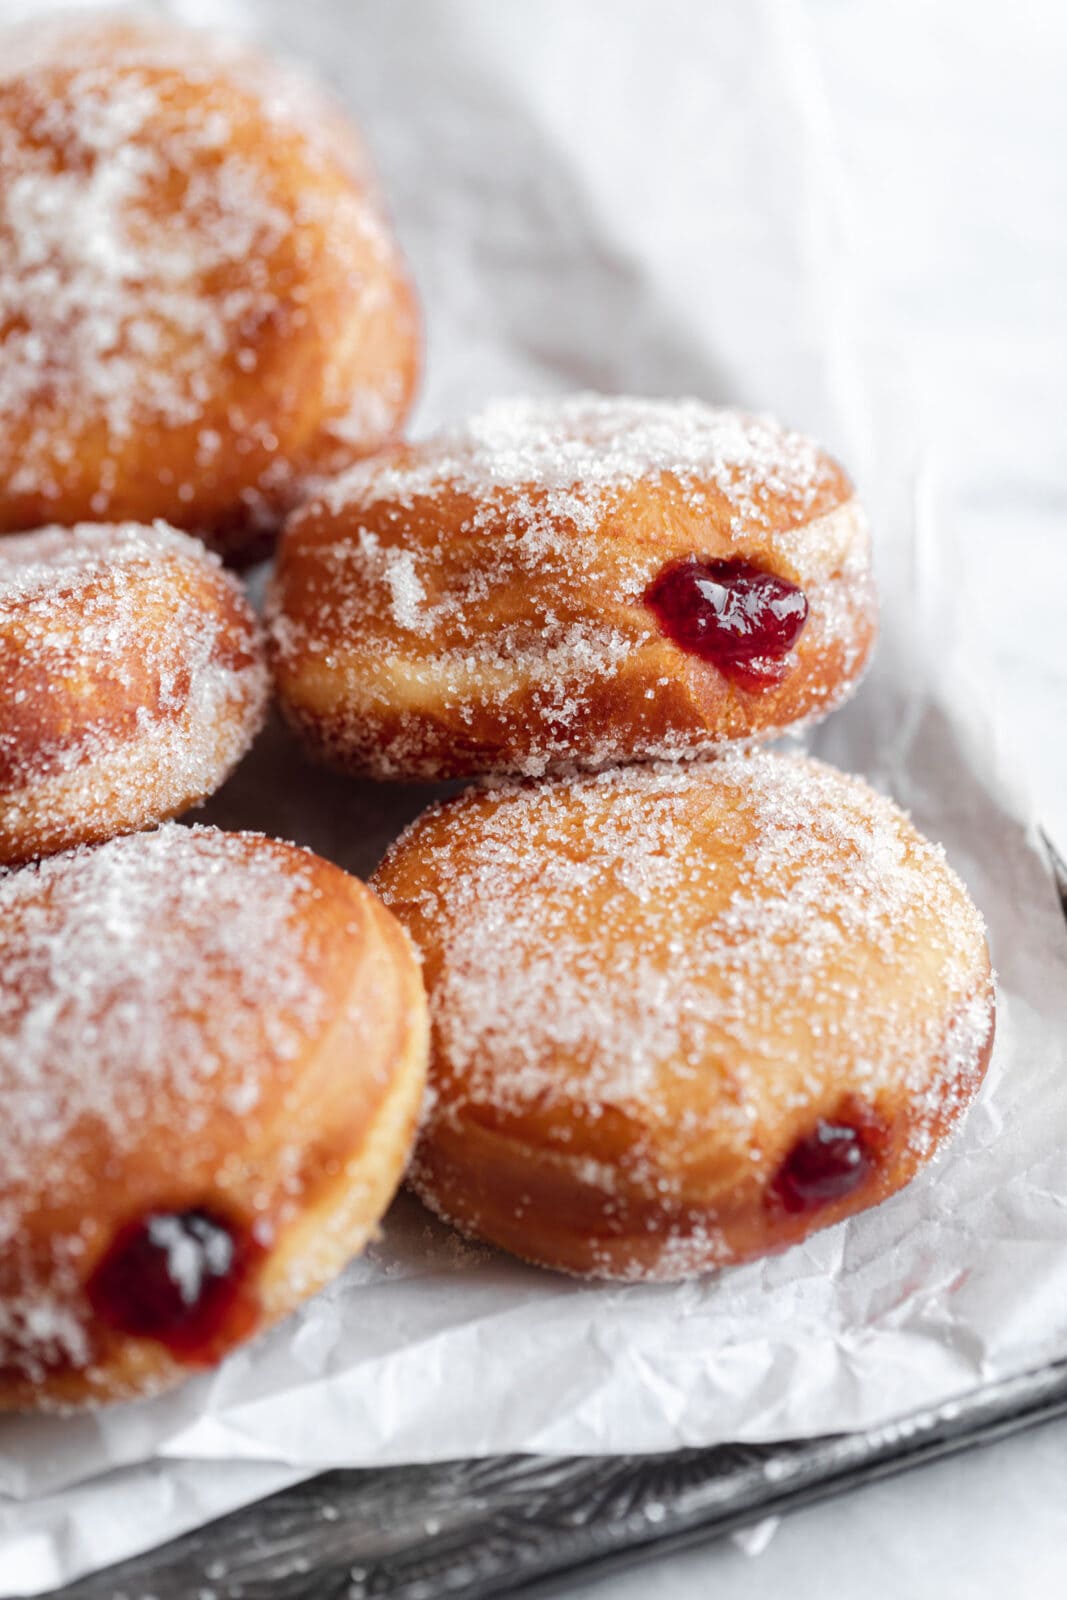
It comes as no surprise that the jelly you use can really make or break your jelly donuts. Hence the name…jelly donuts. We absolutely LOVE using Bonne Maman’s preservers for these classic jelly donuts (strawberry or raspberry are my favorite), but you can really use whatever kind you like! I do recommend using something that isn’t too chunky to avoid any blockages in your piping when you are filling your donuts!
Tips for making the best homemade jelly donuts
These classic jelly donuts are fried to golden perfection and taste worth of a donut shop, but that wasn’t always the case with this recipe. I’ve tested this recipe SO many times to get it just right for you, so you can trust me when I say these jelly donuts are simply the best. Here are my must have tips for making perfect homemade donuts:
- Use a thermometer: It’s so important when frying that you oil is the right temperature! We recommend frying your donuts between 350°F and 365°F. If your oil is too cold your donuts will not get a nice golden brown, crisp exterior and will cook slowly leading to a doughy, dense donut. If your oil is too hot your donuts will burn on the outside and stay raw in the middle. I don’t want that for you, so I recommend you use a kitchen thermometer!
- Use high quality ingredients: These jelly donuts are made with simple, staple ingredients so their quality will really shine through!
- Make sure you’re using good, fresh oil: The donuts will soak up the oil you fry them in so it’s important that the oil is fresh and high quality!
- Eat them while they’re hot: Donuts are best enjoyed hot out of the fryer! If you have leftovers I recommend heating your donut up in the microwave for 30 seconds before eating to get it nice and warm!
Enjoy your donuts, my friends!
XXX
PrintClassic Jelly Donuts
- Prep Time 1 hour
- Cook Time 10 minutes
- Total Time 3 hours
- Yield 10 donuts
- Category breakfast
- Method fried
- Cuisine american
Classic Jelly Donuts
Good days start with donuts. Specifically these pillowy soft homemade jelly donuts that are bursting with sweet jelly. They’re pretty easy to make (we’ll break down exactly how to make these classic jelly donuts below!) and go perfectly with a cup of coffee!
- Prep Time 1 hour
- Cook Time 10 minutes
- Total Time 3 hours
- Yield 10 donuts
- Category breakfast
- Method fried
- Cuisine american
Ingredients
For the donuts:
- 3 1/4 to 3 3/4 cups all-purpose flour, plus extra as needed
- 2 tablespoons granulated sugar
- 2 packets (4 1/2 teaspoons) instant yeast
- 1 teaspoon salt
- 1 cup plus 2 tablespoons milk (any dairy or non-dairy milk works)
- 1/4 cup (1/2 stick) unsalted butter, at room temperature
- 3 large egg yolks, at room temperature
- Vegetable oil, for deep frying
For the filling and coating:
- 1 cup granulated sugar
- 1/2 cup fruit jam of choice
Instructions
- First, make the donuts. In a stand mixer fitted with the paddle attachment, combine 2 cups of the flour with the granulated sugar, yeast, and salt on low speed until combined.
- In a microwave-safe bowl, microwave the milk and butter until the mixture is warm to the touch and the butter is mostly melted, about 45 seconds (you don’t want the mixture to be steaming or too hot, as this can kill the yeast).
- Pour the milk mixture into the flour mixture, along with the egg yolks. Beat everything together on low speed, gradually increasing to medium speed, for 2 minutes. The dough will look more like batter, but this is correct! This step kicks off the gluten development.
- After 2 minutes, change to the dough hook attachment. Add in an additional 1 ¼ cups of flour and knead on low speed until combined and a soft dough forms. Use a silicone spatula to scrape down the sides of the bowl. Knead on low speed, stopping the mixer occasionally to re-disperse dough, until the dough starts to pull away from the sides of the bowl and forms a ball around the dough hook, about 3 minutes. Increase to medium-low speed and knead until the dough becomes smooth and supple, about 5 minutes. If the dough feels too wet, add in the additional ½ cup flour and mix for an additional minute or so.
- Turn the dough onto a clean, lightly floured surface, cover loosely with a dish towel, and let rest for 10 minutes.
- Use a rolling pin to roll the dough out to a 12-inch circle about ½ inch thickness. Use a 3-inch round cookie cutter to cut out as many donuts as possible. Gather the scraps together into a ball and gently knead them back together. Let the dough rest for 15 minutes, then roll out the scraps and cut the dough again–you should end up with 10 donuts.
- Place the donuts 3 inches apart on lightly greased or parchment lined baking sheets. Cover the baking sheets loosely with a dish towel or plastic wrap. Let rise in a warm place until the donuts have doubled in size, about 1 hour.
- Heat 4 inches of oil in a large pot over medium-low heat to 350°F. Place a cooling rack on top of a baking sheet and set aside.
- While the oil heats up, prepare your filling and coating. Place 1 cup of granulated sugar in a medium sized bowl and set aside. Place the strawberry jam into a piping bag fitted with a metal tip with a ½-inch tip. Set aside.
- Fry 2 to 3 donuts at a time (being careful to not overcrowd the pot) for 2 minutes on each side. You’ll know to flip the donuts over when they float to the top of the oil and are golden brown around the bottom edge right where it meets the oil. Use a slotted metal spatula to transfer them to the prepared cooling rack and repeat with the remaining donuts.
- Once the donuts are cool enough to the touch (but still warm), toss in the granulated sugar. Insert the piping bag tip into the side of each donut and firmly squeeze a few tablespoons of jam into the center of the donut. Serve within 4 hours of frying (but they’re best while still warm, obviously).
- Prep Time 1 hour
- Cook Time 10 minutes
- Total Time 3 hours
- Yield 10 donuts
- Category breakfast
- Method fried
- Cuisine american
Good recipe and instructions. I would add a warning to handle the risen donuts very carefully, or, in the alternative, for each donut, cut 10 5-inch squares of parchment, lightly grease (as in spray lightly) and proof the cut dough rounds on them. Once risen, carefully flip each round upside down into the hot oil and immediately remove the parchment. Perfect results every time.
Did this classic with various jellies, vanilla Bavarian cream, chocolate Bavarian cream, and apple dumpling filling. The donut recipe works out to about 18 donuts for me with my imported 3″ French raised donut cutter (i.e., a/ka/ the plastic KitchenAid jar that came with the immersion blender). I get a good rise on first and second rises, but they go nuts and I get an off the wall “fryer spring” when they hit the oil. A machine to do the filling would be way better than me doing the filling with a small pastry bag with a big ol’ tip – but here we are. Really fabulous and consistent. At a minimum I do them for Sunday service every week and the parishioners just can’t get enough. You really make me look good, Broma. High fives and bows to the master!
So pleased to hear this! Enjoy!
I am going to be making this recipe replacing jam with preserves fingers crossed and I will do a review after
That should be DELICIOUS! Fingers crossed it went well for you!